I’ve always been fascinated, with the manipulation of time, when taking photos. A short shutter speed freezes an insect in flight, a raindrop is suspended in air, or a motorcycle seems to be suspended in front of a blurry background. Conversely, a long shutter speed will smooth out water, make people on a busy road disappear or create interesting light trails. While creating video work, I’ve also stared to experiment more and more with time-lapses, and I want to share my experiences creating those with you.
General stuff
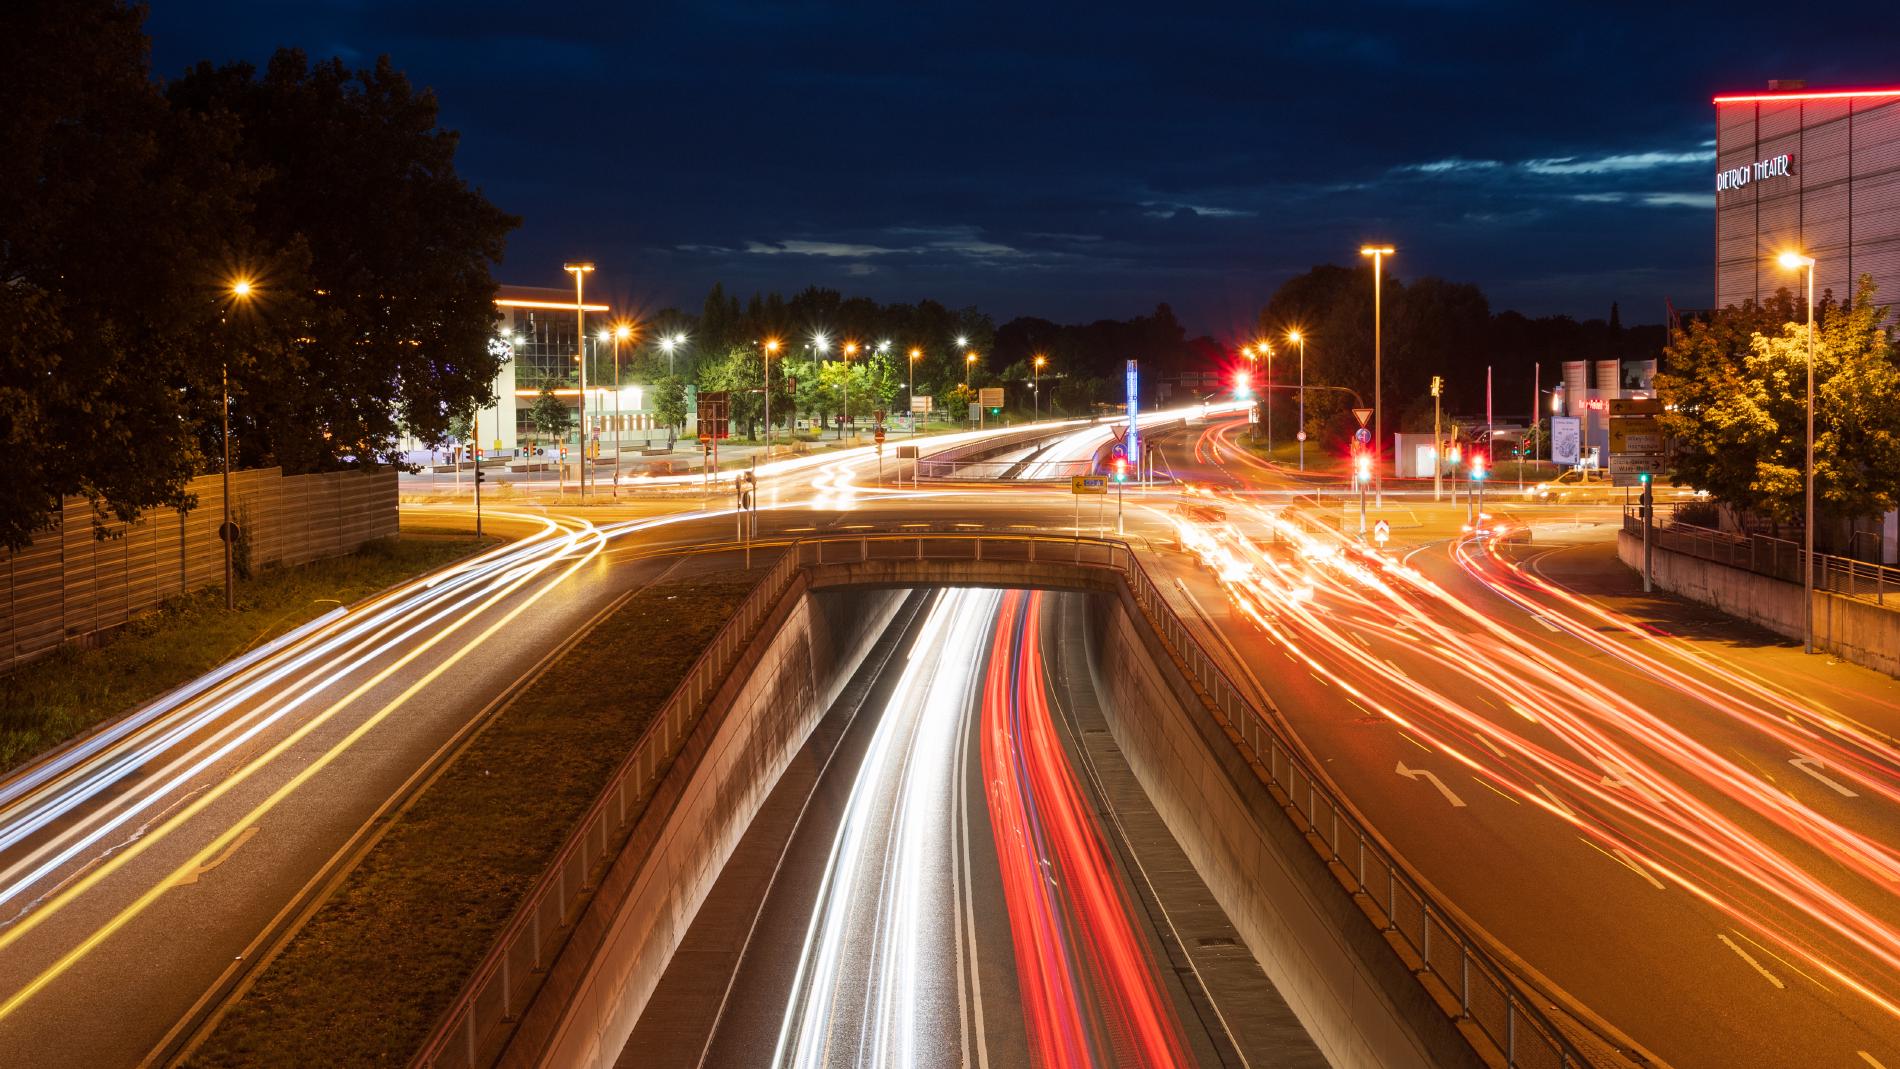
As with photography, you should first identify an interesting subject. This can be a busy intersection, some rolling clouds, a mountain top that’s covered in fog… Try to find something where you can already see a slow change. Constant lighting conditions will make things easier to shoot. You should also bring a tripod with you. Using ND-filters, you can achieve longer exposure times in daylight, and reduce visual artifacts.
Shooting modes
You have multiple options to create time-lapses with the EOS RP:
Use the interval shooting mode to capture single images. Advantages: You have incredible resolution, and usually better image quality. Using manual mode, you also have fine control over every setting of the image. You could also use the Fv, Av or Tv modes to pin single settings, and let the camera use the other ones to compensate for changing conditions. Disadvantages: Large file sizes can become limiting. You might also need to develop images manually. Shrinking big images can create artifacts in your videos. The shutter mechanism will also experience more wear
Shoot a regular video and increase playback speed Advantages: Easy to use Disadvantages: You are limited to 30-minute recordings, movement in your video will look choppy
Use the internal time-lapse mode Advantages: Easy to use, when using the M video mode, you can also use manual settings, you can shoot uncropped 4 k, you are not limited to 30 minutes Disadvantages: You don’t have the single images, and thus not as many possibilities with editing as compared to using the internal interval timer. You are limited to 3600 frames I tend to use the internal time-lapse mode in manual mode most of the time. It directly creates 29.97 FPS video files and is easy to work with. To access it, you need to be in movie mode, and enable it via Menu » Time-lapse movie.
A short side note: depending on the shooting mode (“Movie auto exposure” or “Movie manual exp.”) you can either set shutter speed/aperture manually or not.
Time-lapse settings
You an either chose certain presets, or use “Custom” to manually select your interval and number of shots. The camera will calculate the recording time and resulting video time at 29.97 fps for you.
Intervals
I tend to select a fairly short interval times most of the time, to create fluid movements (2 to 5 seconds). My general rule of thumb for the intervals is as following:
- 2-5 seconds: for fast moving clouds, or busy scenes. Longer intervals result in “choppy” videos
- 5-10 seconds: for slow moving clouds
- 10 seconds and more: for sunsets or sunrises
Exposure settings
You can either specify to keep the exposure based on the first shot, or to adjust it each shot. In manual mode, you can use this setting force the camera to compensate for darkness by increasing the ISO, if you manually select the aperture and set iso to auto.
Exposure time: If you shoot in bright daylight, you will often have birds or insects in single frames of your videos. These create visible clutter in the resulting video. I suggest that you use an ND filter (for instance ND 8) to slow down your aperture. With the longer shutter speed, fast moving things will become blurry and harder to notice.
Editing
For editing the final clips, I use Davinci Resolve, which comes in a free edition and has all basic features you need for cutting your videos. For music, I tend to search on https://filmmusic.io/, where the music is allowed to be used in videos with proper attribution.
Additional information
A comment below asked, how to increase the exposure time over 1/8th of a second. All exposure times are available, when time-lapse mode is enabled. I recorded a short video on how to enable the appropriate settings: